mlterm is a lightweight and fast terminal. You can have your own configuration and customize it as you like.
I like mlterm because it can:
- Display texts in non-English locales and supports input methods.
- Has less dependencies. Unlike Konsole or Gnome-terminal, you don't need to install the extra packages when you're not using those desktop environments.
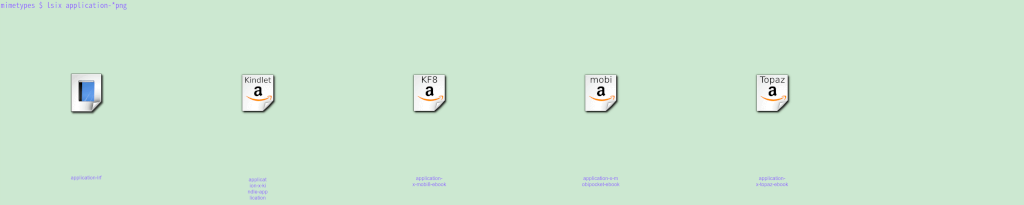
- lsix to view pictures inside the terminal.
Configurations
There are two ways to configure mlterm.
First, use the GUI configuration.
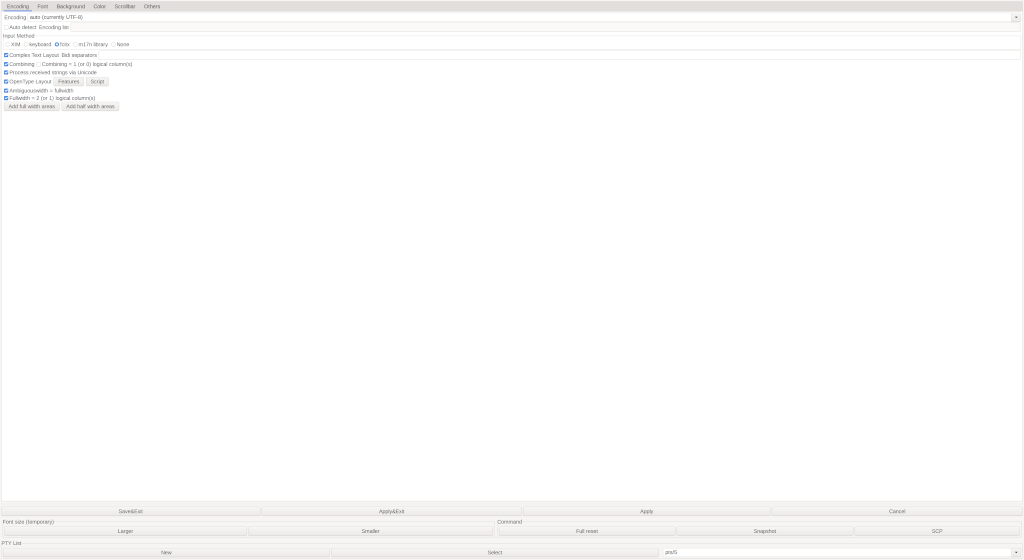
What you need to do is to use Control + Right Click on the mlterm window to open the GUI configuration. You can make the change, apply it, and view the change. Remember to save it so that you don't lose the changes when you open mlterm later. I found it doesn't save some settings. I have to modify the configuration files.
The second way to configure mlterm is to modify the files. The configurations are in the folder $HOME/.mlterm. There are a few files.The ones I'll make changes are in main, key, and aafont. The main configuration file contains settings for mlterm in general. The key configuration file contains the key bindings. The aafont configuration file contains the font settings when you use anti-alias fonts.
Use Multiple Languages
My locale is UTF-8 and mlterm can detect it automatically. So I don't touch encoding related settings. I do change the settings for fonts and input method.
- Set
use_aafonttotruein the main configuration. Its default values istrueif you run it on a desktop environment. It'sfalseinmlterm-fb. So this is optional if you only use mlterm on a desktop environment. I explicitly set it totruein case I runmlterm-fb. - Choose the font for the corresponding encodings. you can choose fonts for different encodings. Since my locale is UTF-8, I set it for the UNICODE one. In the aafont configuration file. you need to put something like this:
UNICODE = Noto Sans Mono CJK SC 20 - Enable anti alias. You need to choose the font type that supports this feature. This is the setting
use_anti_aliasin main configuration file. - Choose the input method. This is the setting
input_methodin the main configuration file. For exampleinput_method = fcitx
Copy And Paste
It's better to understand selection on X11 before configure copy and paste. Anything you want to transfer from application to application is stored in selection. There are PRIMARY and CLIPBOARD as the destination of the selection. Anything you select or highlight will go to PRIMARY automatically. It's easy do it. You just need to use the mouse to select the text and that will go to PRIMARY. Once you select different texts, the new texts will overwrite the old ones in PRIMARY. To paste from PRIMARY, you can click the middle button or use SHIFT + INSERT. Mlterm supports it out of box. CLIPBOARD maybe is what most of us are familiar with. You copy by using Control + C and paste by Control + V. It's different from PRIMARY in that a new selection doesn't overwrite the contents in CLIPBOARD. You have to repeat the copy to clipboard action to update CLIPBOARD. I am familar with CLIPBOARD's way of copy and paste, so I configure mlterm to use it.
Copy to CLIPBOARD
There is a setting to copy the selection to both PRIMARY and CLIBOARD. It's the setting use_clipboard=true in the main configuration file. Its default value is true so the setting is optional. But if you would like to separate them, as I do, you need to set use_clipboard=false to copy the selection to only PRIMARY. Then create a key binding to copy it to CLIPBOARD
Control+Shift+c="exesel:copy_to_clip"exesel runs a command on the selected text. copy_to_clip is a script I create. Remember to put it in the folder that can be found from PATH.
Here is what the script copy_to_clip does:
echo $@ | xsel -i --clipboardmlterm passes the selected text to the command copy_to_clip. What that does is to echo it to the ouput and pipe it to xsel. xsel takes the input from the pipe (-i) and copies it to CLIPBOARD (--clipboard).
Paste from CLIPBOARD
To paste from the clipboard, I configure the key bindings. The key bindings are defined in the key configuration file. The format is key=feature. The mlterm man page lists what keys can be used and what features are supported. To paste from CLIPBOARD, I use the feature proto:paste clipboard. I bind it to both right click and CTRL +SHIFT +V. The binding are
Control+Shift+v="proto:paste clipboard"
Button3="proto:paste clipboard"
There is another feature INSERT_CLIPBOARD that allows you to paste from the clipboard. But you can only assign one key binding to it. But you can have multiple bindings to the proto features. That is why I use it and bind to both Control+Shift+v and Button3.
Use lsix
Since I mentioned lsix on mlterm, I would like to add to that there is an issue with it. The pictures are not displayed at the right place on mlterm. The good news is that lsix knows about that and has a fix for that. However, it only applies the fix when it detects that the terminal is mlterm. It checks the terminal type. But mlterm reports it's xterm. To fix that, I put termtype=mlterm in the main configuration file. You can also pass it in the argument (--term=mlterm) when you starts mlterm. That tells mlterm to report itself as mlterm and lsix can apply the fix. With this change, lsix will display the pictures at the right place.